
Last updated November 15, 2026
 Wrought iron
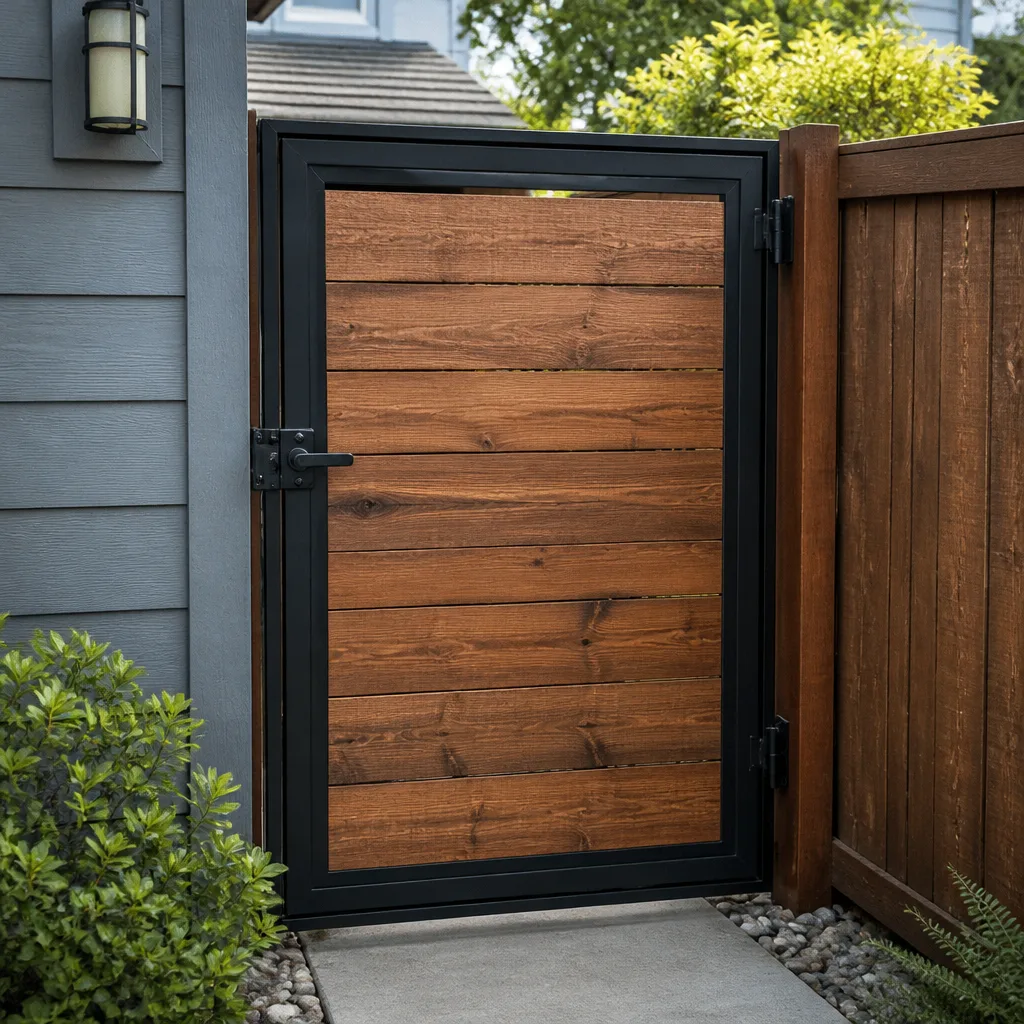 Wood & steel frame
 Farm & ranch
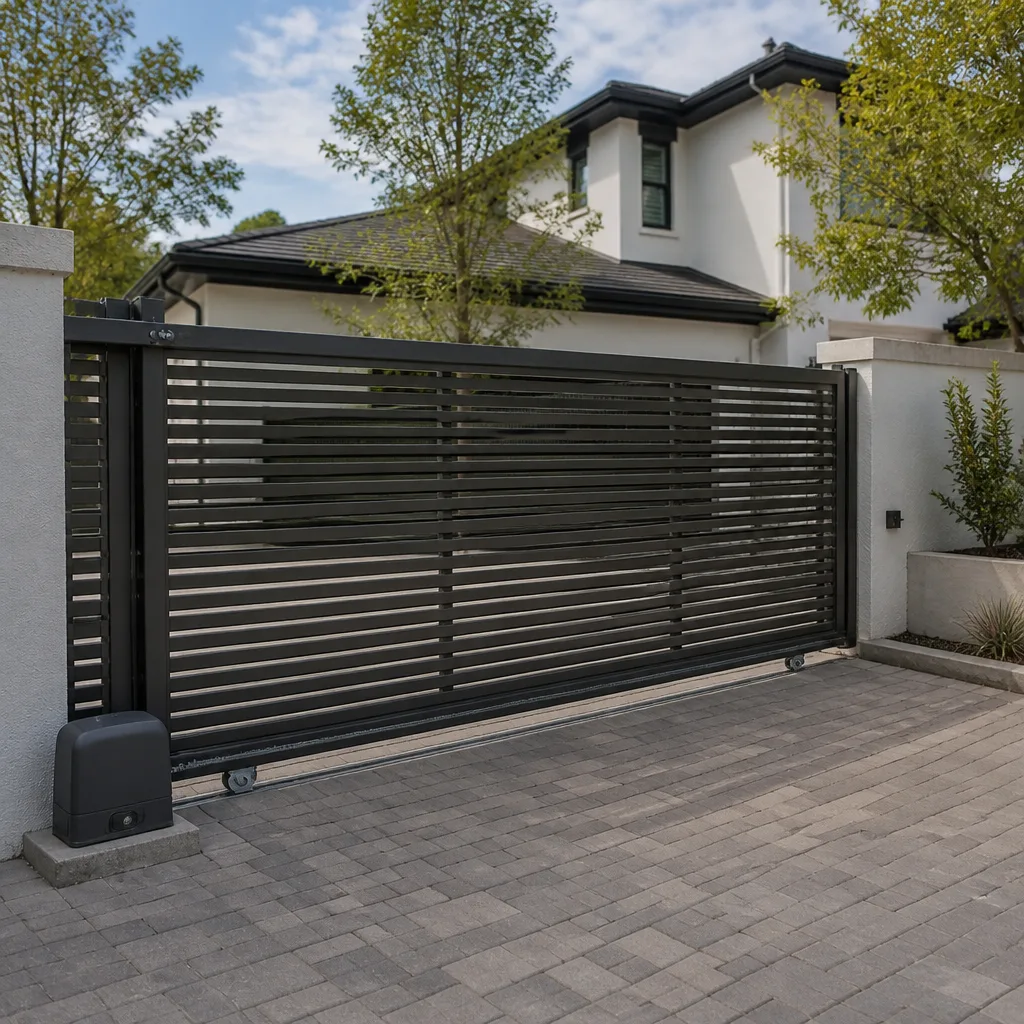 Sliding driveway gates
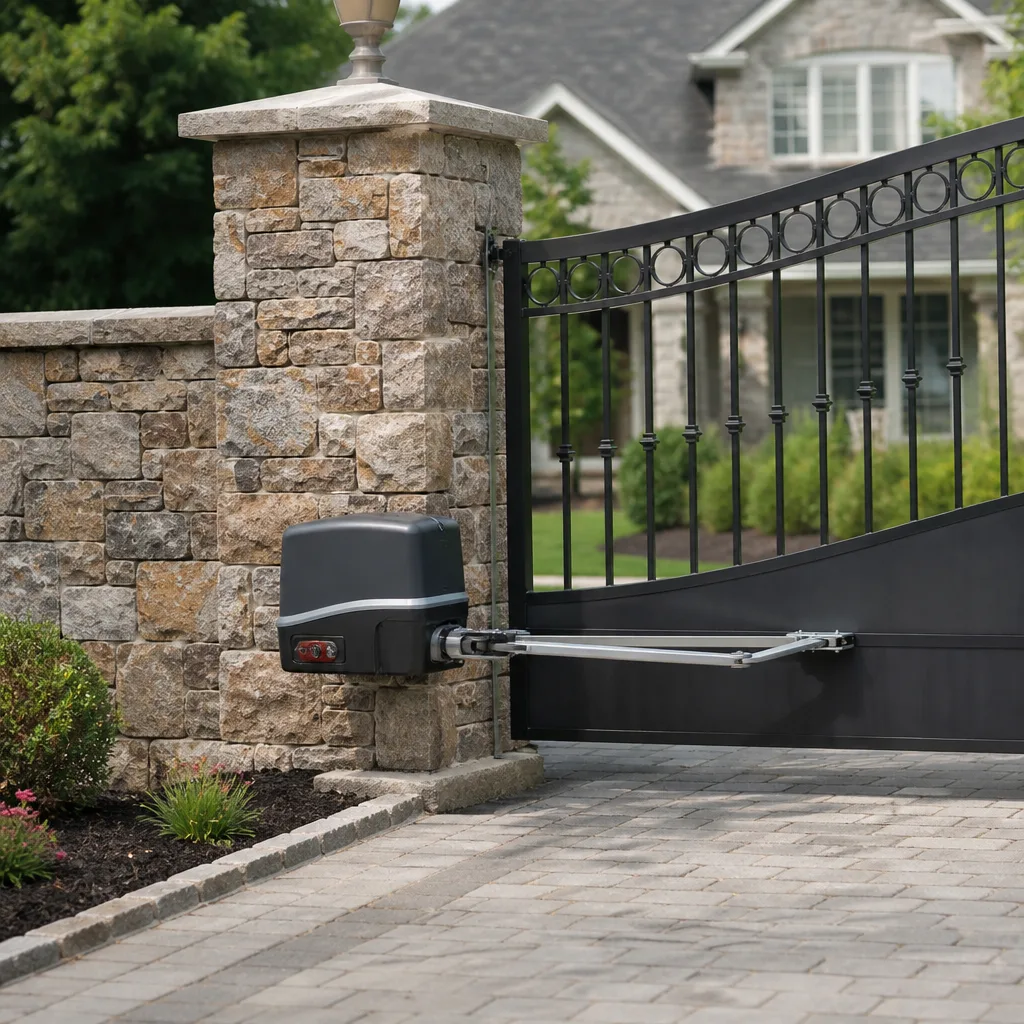 LiftMaster operators
Free on-site gate assessment - hinges, posts, and your LiftMaster or Nice gate operator checked before anything is quoted
The assessment is free and the quote is the invoice.
Get your free estimateDIY vs Professional Gate Repair: The Surprise Homeowner’s Decision Guide
Replacing a gate hinge is a weekend project. Replacing a gate operator without understanding the safety entrapment standards required by UL 325 is a liability the homeowner inherits entirely. That difference is the whole guide in one sentence: the DIY-versus-professional question isn’t about how confident you feel with a wrench, it’s about which specific task is on the table. Some gate jobs are genuinely homeowner-safe. Others cross into electrical work, code compliance, and warranty territory where a self-repair becomes a false economy. In this guide we break gate work down task by task, so you can decide what to touch yourself in Surprise and what to hand to a specialist.
Quick Answer
The safe DIY gate repairs are lubrication, minor alignment, sensor cleaning, and battery replacement. Everything else – operator installation, control board work, loop detector wiring, and anything involving the main power feed – belongs to a trained gate technician, because those tasks carry UL 325 safety-entrapment obligations, electrical-code requirements, and warranty consequences a homeowner can’t satisfy on their own. If a gate won’t open, won’t close, or reverses unexpectedly, call a professional.
Styles & brands we work with
- Wrought iron
- Wood & steel frame
- Farm & ranch
- Sliding driveway gates
- LiftMaster operators
Table of Contents
- The Task-by-Task Decision Framework
- What’s Genuinely Safe to DIY
- Where DIY Crosses Into Professional Territory
- The Hidden Cost of a Wrong DIY Diagnosis
- When a YouTube Tutorial Applies to Your Gate (and When It Doesn’t)
- Surprise Climate, Codes, and Why They Matter
- What to Have Ready Before You Call a Pro After a DIY Attempt
- Common Mistakes to Avoid
The Task-by-Task Decision Framework
Stop asking “should I fix my gate myself?” and start asking “which task am I actually doing?” Every gate problem on a property in Surprise fits into one of three buckets: homeowner-safe maintenance, homeowner-possible with caution, and professional-only. Once you sort your problem into a bucket, the decision makes itself.
Here’s how the buckets line up:
- Homeowner-safe: greasing hinges and rollers, clearing debris from the track, wiping photo-eye lenses, swapping operator batteries, tightening an obviously loose bolt.
- Caution zone: minor alignment adjustments, chain tension on a slide gate, resetting the operator after a power interruption. Doable if you understand the mechanism and have the owner’s manual.
- Professional-only: operator replacement, control board diagnosis, loop detector installation, anything on the 120V feed, gate panel or post replacement, spring work on the operator arm, and any repair where the gate moves under its own power with a person nearby.
The reason the third bucket is closed to homeowners isn’t gatekeeping. It’s that these tasks carry obligations – UL 325 safety compliance, local electrical code, and warranty terms – that only a licensed, insured technician can satisfy. A gate that closes on a child because the entrapment sensors weren’t set correctly is a serious legal problem for whoever did the work. That’s you, if you did it.
This is why we tell homeowners in Surprise to think of the buckets as a checklist. If your task is in the first bucket, we’ll happily tell you to save the money. If it’s in the third, no amount of confidence replaces the training.
What’s Genuinely Safe to DIY
Lubrication is the single highest-value task a homeowner can do themselves, because it prevents most of the repairs that bring people to us. The four categories below are the ones we routinely tell Surprise homeowners to handle on their own before spending a dollar on a service call.
1. Lubrication
Gate hinges, rollers, and the operator arm pivot points dry out. In the desert, heat and dust accelerate that. A silicone-based lubricant on the hinges and rollers every few months keeps the gate swinging smoothly and reduces strain on the operator. Don’t use cooking spray or petroleum jelly – they attract grit.
2. Minor alignment
If a swing gate drags on the ground or a slide gate rubs against its track, a small adjustment to the hinge or the roller carriage can often fix it. If you’ve adjusted the hinge three times and the gate still drags, stop – you’re compensating for a worn hinge or a settling post, and you’ll make it worse.
3. Sensor cleaning
Photo-eye lenses on automatic gates collect dust fast in Surprise. A soft cloth and a few seconds of wiping restores the beam. If your gate reverses unexpectedly, cleaning the sensors is the first thing to try.
4. Battery replacement
Backup batteries in the operator housing (common on LiftMaster and Linear units) are user-replaceable. Pop the cover, match the battery type from the owner’s manual, swap it. Don’t attempt the main 120V connection for any reason.
Everything on this list is a task you can complete in under thirty minutes with basic tools. Everything above it usually isn’t.
Where DIY Crosses Into Professional Territory
There are three categories of gate work that look easy and aren’t: operator installation, control board work, and loop detector wiring. Each carries a specific risk that a homeowner can’t eliminate on their own.
Operator installation and UL 325
UL 325 is the safety standard that governs automatic gate operators. It covers entrapment protection – the mechanism that stops or reverses a gate when something is in its path. If you install a new operator without setting the entrapment sensors, the gate can crush or pin a person. The liability sits with whoever installed it. That’s the homeowner. Every operator manufacturer we work with, from LiftMaster to FAAC, specifies the entrapment setup in the installation manual and won’t honor a warranty on an installation that doesn’t follow it.
Control board work
The control board is where the operator’s brain lives. A single board handles the motor signal, the safety sensor inputs, the limit switches, and the radio receiver. Diagnosing a control board problem requires reading the board’s own status lights and testing the inputs one at a time. If you ship a board in for repair or swap it without tracing the fault, the replacement fails the same way. BFT and FAAC boards are common on commercial-style gates and each has its own diagnostic sequence.
Loop detector wiring
Exit loops and safety loops are buried in the driveway and wired back to the operator. The wiring runs low-voltage, which tempts people to DIY it, but the loop detector has to be tuned to the exact loop inductance and wired into the free-exit or safety input. A mis-wired loop either keeps the gate open permanently or fails to close it. You cannot test this safely by yourself.
If any of these three are on your list, it’s an electric gate repair job for a professional, not a Saturday project.
The Hidden Cost of a Wrong DIY Diagnosis
The most expensive DIY repair we see isn’t a badly executed one – it’s a correctly executed repair of the wrong part. Here’s the actual cost math on a “why won’t my gate close” problem.
The symptom is the same for at least four root causes:
- A misaligned safety beam (sensor)
- A failed control board input (electronics)
- A jammed limit switch (mechanism)
- A dying battery that can’t hold the close cycle (power)
A homeowner who guesses “sensor” buys a replacement photo-eye kit. It doesn’t fix the problem, so they guess “control board” and buy that. Still not the answer – now they’re two parts in and the gate still won’t close. At this point they call a professional, who diagnoses the jammed limit switch in five minutes, and the homeowner has spent money on two parts that will sit in the garage forever.
The secondary cost is worse. A board installed without a proper sensor setup can set the entrapment protection to a false state. A battery replaced with an incompatible type can damage the charging circuit. And a limit switch that was forced past its stop can now be a small mechanical problem sitting under a larger electrical one.
None of this is a lecture. We’ve had to unwind it plenty of times, and we do it without judgment. Just know that the pattern is common, and it’s why we recommend the decision framework rather than trial-and-error.
When a YouTube Tutorial Applies to Your Gate (and When It Doesn’t)
The single biggest reason DIY gate repairs go wrong is that the tutorial the homeowner followed was for a different model, a different board version, or a different generation of the same brand. Here’s how to check before you pick up a screwdriver.
- Find the exact model number on the operator. Not the brand name on the cover – the model and serial plate inside the housing. Write it down.
- Check the board revision. LiftMaster, FAAC, BFT, and Linear have all shipped multiple board revisions under the same operator model number. A tutorial for revision A will not match revision C.
- Confirm the year. If the tutorial doesn’t state the year or the revision, assume it might not apply.
- Compare the video’s part to your part. Pause the video at the moment the technician removes the component and look at yours. If the connector count, the pin layout, or the housing shape doesn’t match, close the tab.
- Read the manual first. Most manufacturers publish PDFs on their site. The manual is more accurate than any video, including ours.
If the tutorial matches on model, revision, and visual inspection, you can probably follow it for a homeowner-safe task. If any one of those three doesn’t match, don’t try to bridge the gap yourself. “Close enough” on a gate operator is how secondary failures start.
Surprise Climate, Codes, and Why They Matter
Local conditions in Surprise affect gate reliability in ways that a general tutorial never mentions. The summer heat is the biggest factor – operators sit in direct sun on a driveway gate and run hotter than the manual’s rated conditions, which shortens the life of the control board’s capacitors and the operator’s internal battery. Dust is the second factor. Track-mounted slide gates pick up grit that wears the rollers and increases friction on the motor.
Practically, that means three things for a homeowner in Surprise:
- Lubricate hinges and rollers more often than the general guidance suggests – heat and dust dry them out faster.
- Clean the safety sensor lenses whenever the gate shows any hesitation, because dust on the lens is the most common false-trigger cause here.
- Have the operator’s internal battery checked as part of any annual visual inspection, because heat degrades it.
Codes matter too. The electrical feed to a gate operator is covered by local electrical code, and most cities require a permit for new circuits. We don’t quote permit rules as gospel for your address – ask your city’s building department – but if your gate project involves running new power, assume permit territory until you verify otherwise.
For a closer look at how these local factors play out across the area we serve, see our page on Surprise.
What to Have Ready Before You Call a Pro After a DIY Attempt
If you’ve already tried a repair and it didn’t work, the fastest way to avoid paying a technician to rediscover what you already know is to hand over your notes at the door. Here’s the list we ask every homeowner to have ready.
- The operator’s model and serial number. Photo of the plate inside the housing is perfect.
- What you did. Parts replaced, parts adjusted, and any setting you changed on the board.
- What happened after. Did the symptom change? Get worse? Move to a different symptom?
- The receipt or part number for anything you installed. If the part is wrong, we need to know what’s on the gate now.
- Any manual or tutorial you followed. If the tutorial was for a different revision, that’s useful diagnostic information.
That five-item list saves diagnostic time, and diagnostic time is what drives the estimate up. A well-documented DIY attempt usually shortens the visit. Reach out through our gate repair page when you’re ready, and bring the list.
Common Mistakes to Avoid
- Assuming the brand on the cover matches the board inside. Plenty of gates in Surprise have a LiftMaster cover over a replacement board installed years later. Confirm the model plate before ordering parts.
- Bypassing the safety sensors “just for now.” If the gate code holds the sensors open because the gate keeps reversing, don’t leave it that way. It reverses because something is wrong, and a bypassed sensor turns a repair into an entrapment risk.
- Adjusting the limit switch to make the gate close “all the way.” A limit switch that won’t reach the stop usually means the gate is dragging or the arm is worn. Forcing the limit hides the real problem.
- Using a general handyman for electrical gate work. An automated gate is a specialty system, and the wiring and board work belong with someone who works on operators as their core trade. Ask about the license and confirm the scope before booking.
- Buying a “universal” replacement board. There isn’t one, regardless of what the listing says. The board has to match the operator’s motor spec and safety inputs.
- Ignoring heat-related slowdowns. In a Surprise summer, an operator that hesitates more than it did in spring is telling you the battery or the capacitors are fading, not that the gate is “getting old.”
- Filing a warranty claim after a DIY install. If the manufacturer finds out the operator was installed by a homeowner without a compliant UL 325 setup, the warranty is not going to save you.
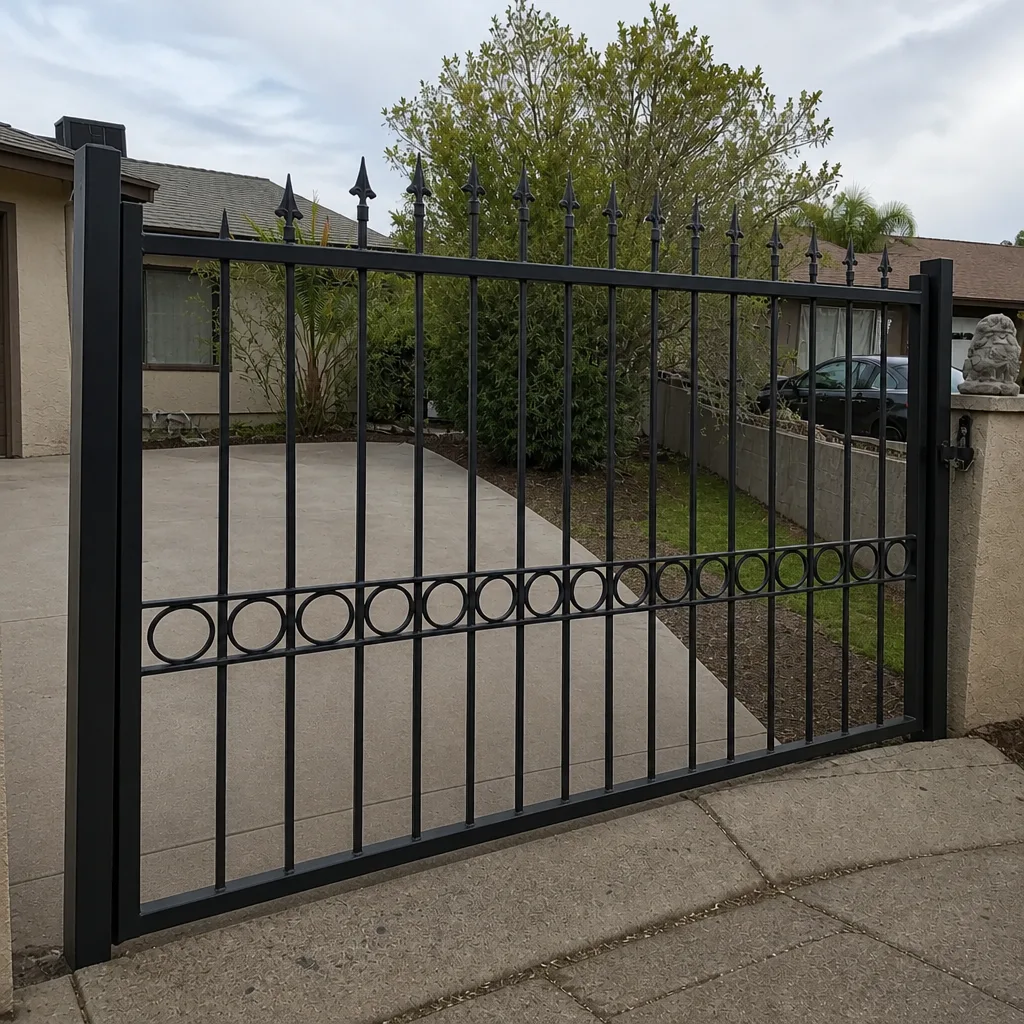
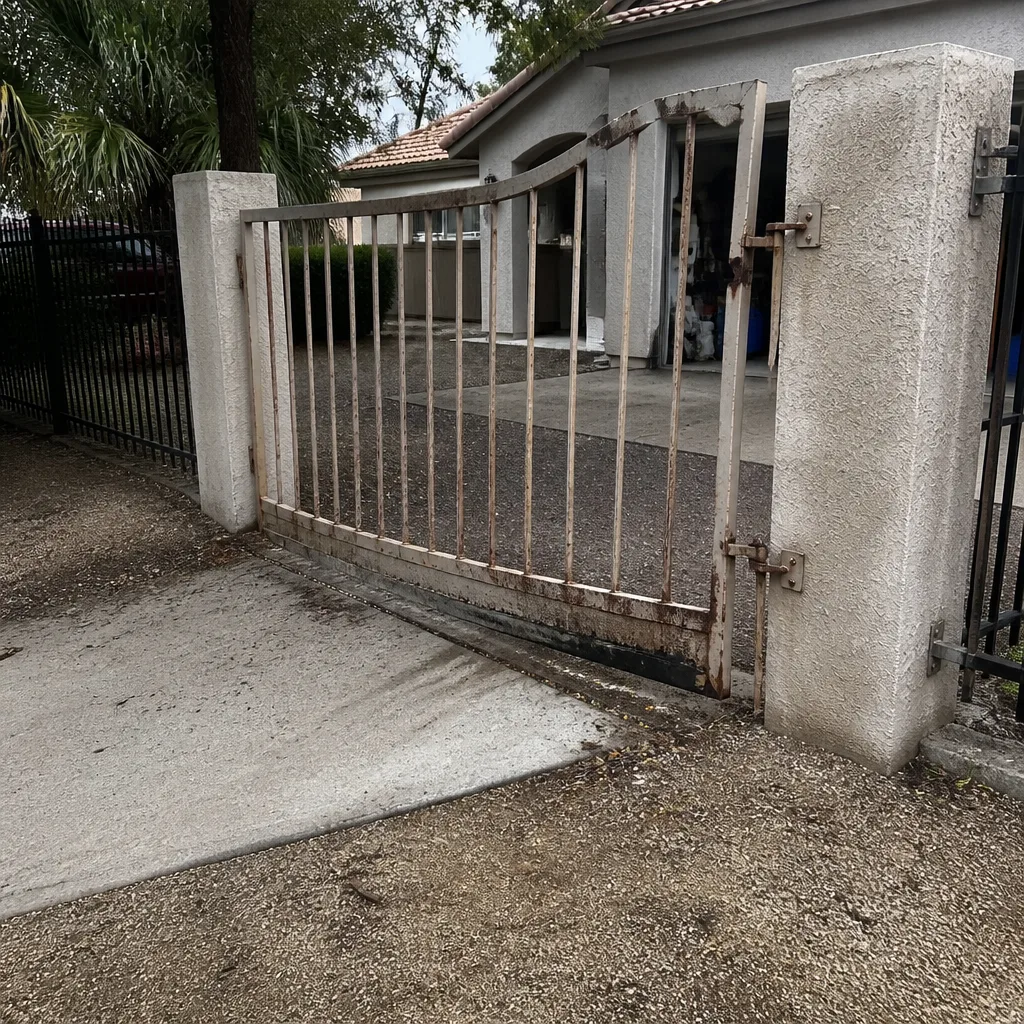
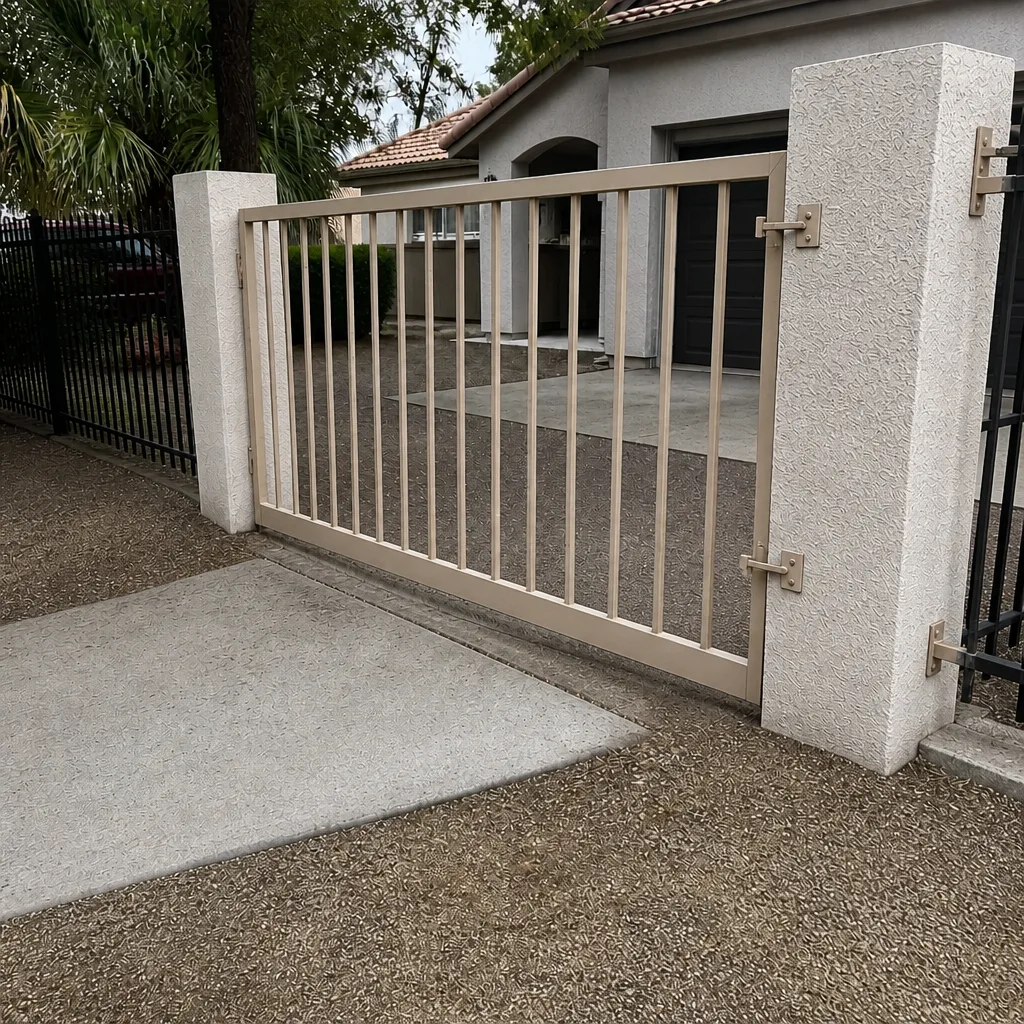
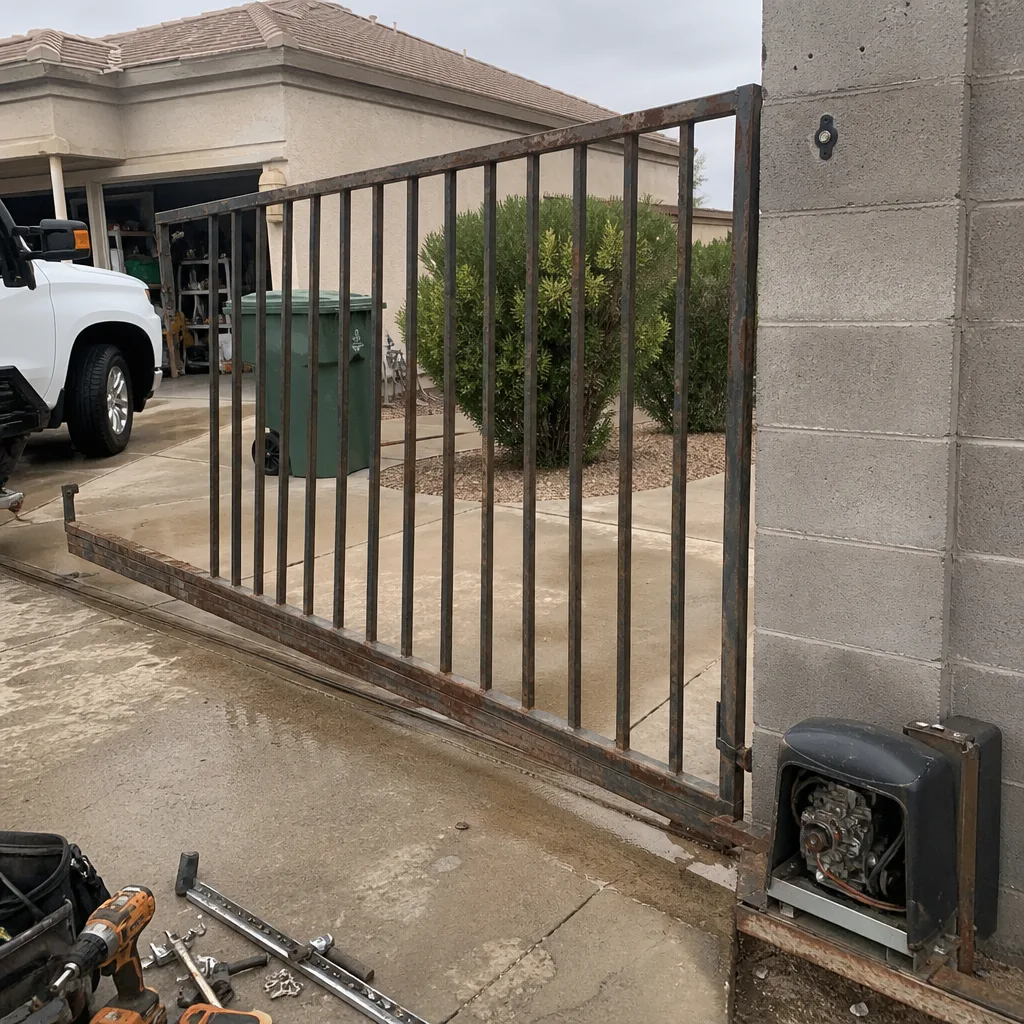
See the difference
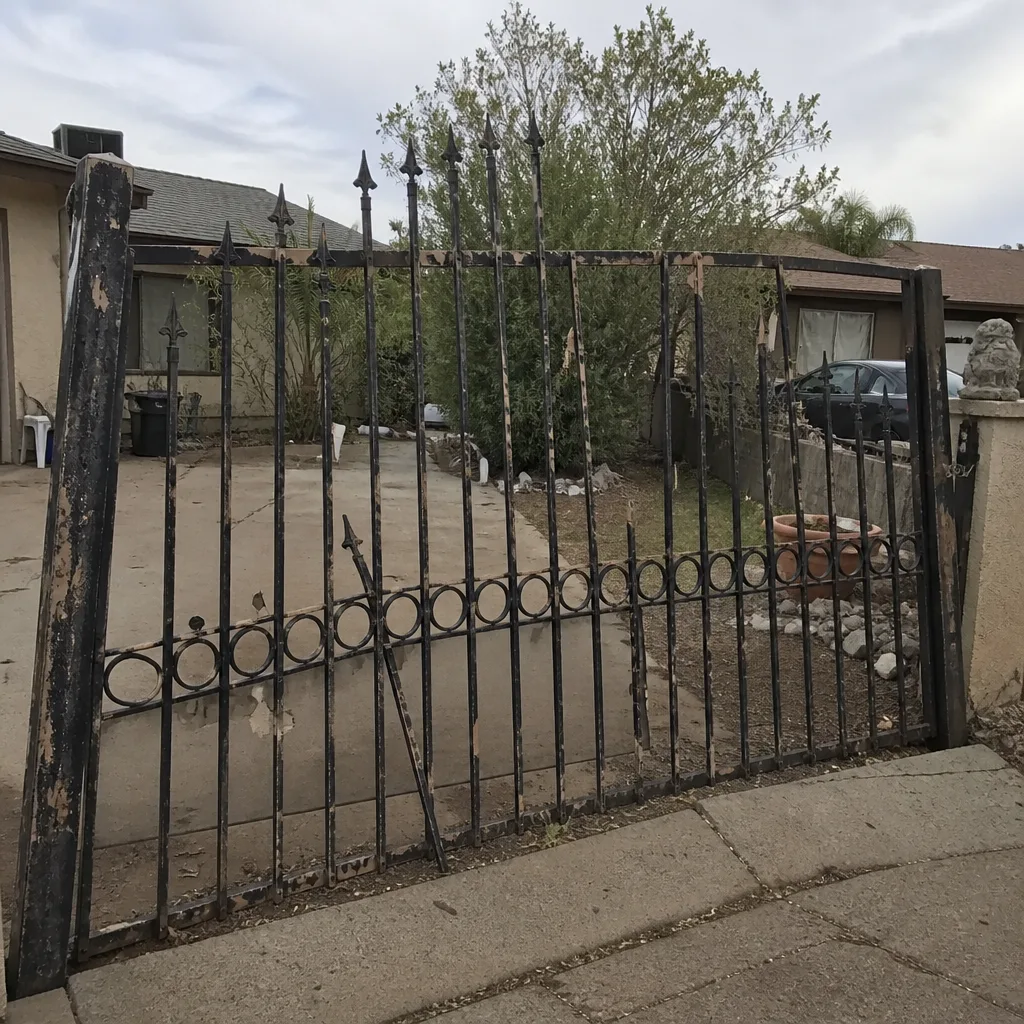 Before
 After
 Before
 After
 Before
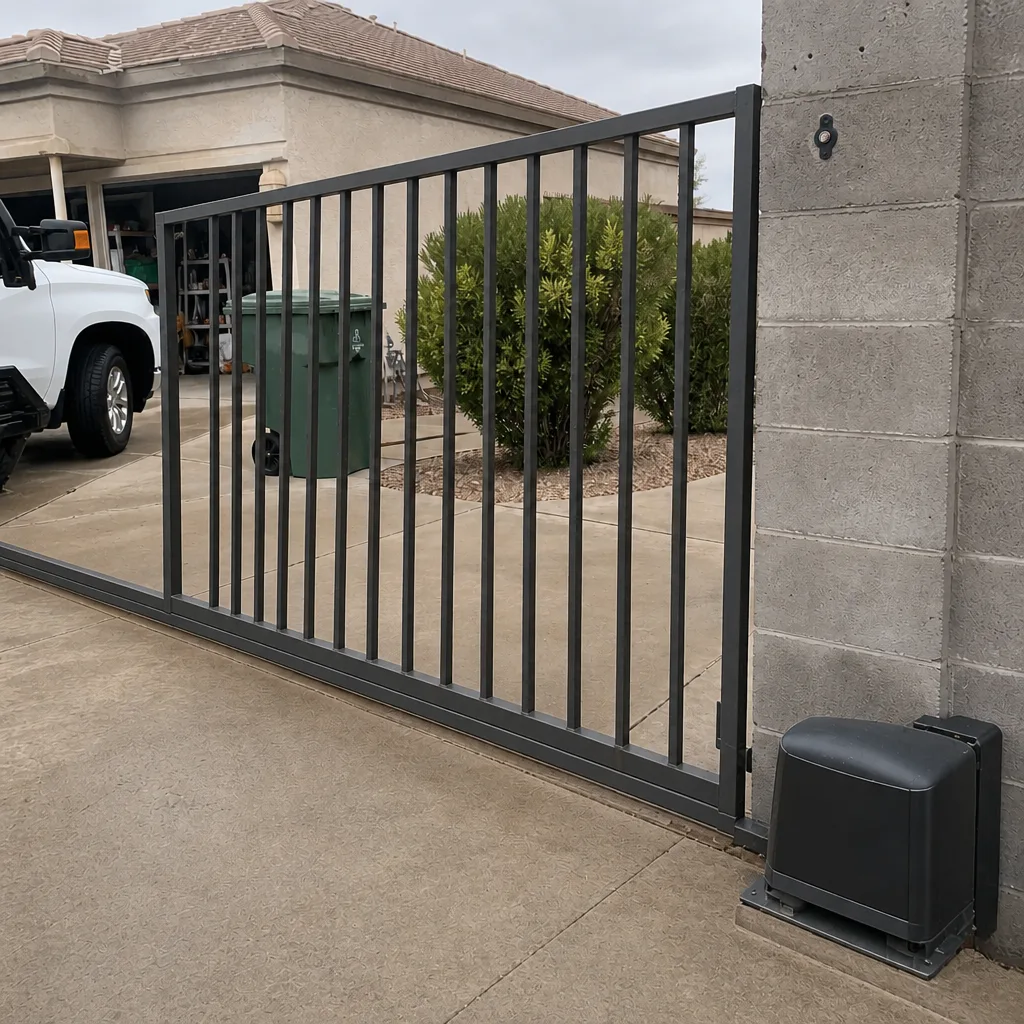 After
When to Call a Professional
Call a professional the moment any of these is true: the gate reverses or stops without a reason; the operator makes a new noise or hesitates on a cycle; the main power connection needs work; the control board lights are on but the gate won’t move; your DIY attempt didn’t fix it and you’re not sure why; or the gate is part of a larger automated system with loop detectors. In any of those cases, the task is not in the homeowner-safe bucket, and continuing to guess costs more than calling. Gate Repair Surprise offers free estimates in Surprise – call (877) 657-0401. We work on whatever gate you have, from LiftMaster to FAAC to Linear, and we diagnose before we quote.
Frequently Asked Questions
No. Operator replacement has to satisfy UL 325 safety-entrapment requirements, and an installation done without that setup leaves the homeowner carrying the liability. Call (877) 657-0401 for a free estimate on the replacement instead – it usually costs less than the risk.
Gate repair pricing depends on the part and the diagnosis, so it’s quoted per job after we look at the gate. The estimate is free, and the written quote sets the final price before any work starts. Call (877) 657-0401 for an exact number.
Lubrication, minor alignment, sensor cleaning, and battery replacement are the four tasks a homeowner can handle. Anything that involves the operator, control board, or main power is not. If you’re unsure which bucket your problem is in, call (877) 657-0401 and we’ll tell you honestly.
Stop swapping parts. A gate that won’t close after a battery replacement usually has a separate fault – a sensor, a limit switch, or a board input – and further guessing buys parts you don’t need. Call (877) 657-0401 and we’ll diagnose the actual problem.
Yes – we work on whatever gate you have, and that includes LiftMaster, FAAC, BFT, Linear, Viking, Ghost Controls, DoorKing, Elite, and Mighty Mule systems. If it’s an automated or manual gate in Surprise, it’s in scope. Call (877) 657-0401 for a free estimate.
Yes. Electrical gate work – the power connection, the safety sensors, the control board, and the loop wiring – is core to what we do, not a referral. It’s part of electric gate repair and it’s quoted on the same estimate. Call (877) 657-0401 for a free estimate.
The Bottom Line
The DIY-versus-professional decision on a gate comes down to which task you’re doing, not how confident you feel. Lubricate, clean the sensors, replace the battery, and make minor adjustments on your own. Hand operator installation, control board work, loop detector wiring, and any power connection to a trained gate technician. Treat a video tutorial as applicable only when the model, revision, and visual part all match your gate. And if a DIY attempt doesn’t fix it, document what you did before you call, because that documentation is worth more than another guess. The team at Gate Repair Surprise is here for the work that crosses into professional territory – we’re gate specialists, and gates are all we do. For the bigger picture of what we cover, see Gate Repair Surprise.
Call (877) 657-0401. We answer 24/7. Fast dispatch from 7am to 7pm, Sunday through Friday. Free estimates, upfront pricing, and the price is quoted and agreed before any work starts.
Written by the team at Gate Repair Surprise.